AUSSENS
Phase Transformation Measurement for Mechanical Properties Control and Assessment.
Introduction
The AUSSENS project addresses a key challenge in steel manufacturing: the real-time measurement of phase transformations that influence the material’s final properties. Tracking the transition between austenite and ferrite is essential for ensuring consistent mechanical performance in high-strength steels. However, traditional measurement methods can be costly, complex, or unsuitable for harsh industrial environments. To overcome these limitations, the AUSSENS project has developed an innovative sensor designed for precise monitoring in both hot and cold steel products, optimizing production processes and enhancing quality control.

Objectives
The primary objective of the AUSSENS project is to develop a cost-effective and reliable sensor that accurately measures the austenite fraction at critical points in the steel processing line. Since the austenite fraction dictates the final phase composition of the steel, maintaining a stable transformation process is essential for ensuring consistent mechanical properties.
By enabling real-time measurement in demanding industrial conditions, the AUSSENS sensor aims to enhance process stability, product quality, and production efficiency. It helps reduce variability and ensure consistent material performance throughout the manufacturing process.
Project Overview
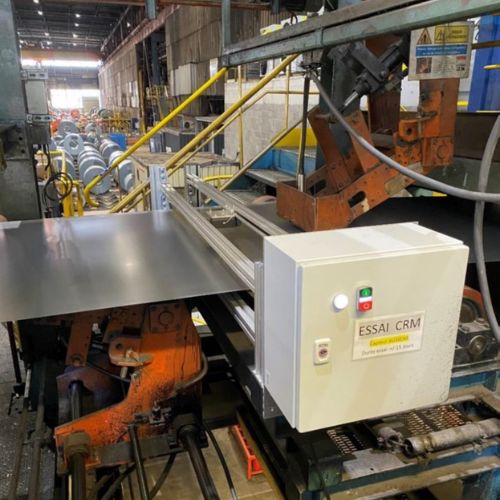
The AUSSENS sensor was developed under the RFCS program (2020-2024) as an advanced solution for real-time austenite transformation monitoring during steel production. By integrating state-of-the-art sensing technology, it provides manufacturers with a practical and efficient alternative to traditional measurement techniques.
Key Features and Capabilities
Adaptability to Harsh Environments
The AUSSENS sensor is specifically designed to withstand extreme industrial conditions. It operates efficiently in high-temperature zones, including areas near zinc baths, where exposure to heat, vibrations, and zinc dust can challenge standard measurement tools.
High-Temperature Resistance
With a capability of operating in situations up to 600°C, the AUSSENS sensor can be used in furnace environments. However, it is not resistant to temperatures beyond the Curie point (~800°C), which limits its application in extreme heat settings. Despite this, it remains a highly effective tool for monitoring austenite transformation in demanding production settings.
Measurement Capabilities
The AUSSENS sensor primarily provides relative measurements of austenite content. However, for applications requiring absolute accuracy, calibration is necessary.
The calibration process is conducted in a controlled laboratory setting using a reference steel sample. The sample undergoes analysis with the AUSSENS sensor, while simultaneously being validated through a high-precision absolute measurement method, such as X-ray diffraction (XRD) – which is currently the most accurate method. By tracking the transformation from high temperature (full austenite) to room temperature, this calibration enables the conversion of sensor voltage readings into precise austenite percentage values, ensuring accuracy in real-world applications.
Why choose AUSSENS?
The AUSSENS sensor offers a cost-effective and reliable solution for real-time austenite measurement. Its robust design makes it highly durable in high-temperature industrial conditions, while its flexible measurement capabilities allow for both relative and absolute assessments. By improving steel quality control, it ensures consistent mechanical properties in final products. Representing a significant advancement in steel production monitoring, the AUSSENS sensor provides manufacturers with a powerful tool for process optimization and quality assurance.
Partners
Funding Bodies


